本文最后更新于 1527 天前,其中的信息可能已经有所发展或是发生改变。
安装
yum -y update
yum -y install epel-release elrepo-release
yum -y install yum-plugin-elrepo
yum -y install kmod-wireguard wireguard-tools
reboot
由于 WireGuard 是 UDP 传输,部分地区运营商对 UDP 有干扰,可能导致断流等问题,暂不推荐作为日常 FQ 手段使用,但是在 TCP 被阻断的 VPS 上不失为一种解决办法。
服务端配置
# 开启ipv4流量转发
echo "net.ipv4.ip_forward = 1" >> /etc/sysctl.conf
sysctl -p

# 创建并进入WireGuard文件夹
mkdir -p /etc/wireguard && chmod 0777 /etc/wireguard
cd /etc/wireguard
umask 077

# 生成服务器和客户端密钥对
wg genkey | tee server_privatekey | wg pubkey > server_publickey
wg genkey | tee client_privatekey | wg pubkey > client_publickey生成服务器配置文件/etc/wireguard/wg0.conf:
- 重要!如果名字不是eth0, 以下PostUp和PostDown处里面的eth0替换成自己服务器显示的名字
- ListenPort为端口号,可以自己设置想使用的数字
- 以下内容一次性粘贴执行,不要分行执行
echo "
[Interface]
  PrivateKey = $(cat server_privatekey)
  Address = 10.0.0.1/24
  PostUp   = iptables -A FORWARD -i wg0 -j ACCEPT; iptables -A FORWARD -o wg0 -j ACCEPT; iptables -t nat -A POSTROUTING -o eth0 -j MASQUERADE
  PostDown = iptables -D FORWARD -i wg0 -j ACCEPT; iptables -D FORWARD -o wg0 -j ACCEPT; iptables -t nat -D POSTROUTING -o eth0 -j MASQUERADE
  ListenPort = 50814
  DNS = 8.8.8.8
  MTU = 1420

[Peer]
  PublicKey = $(cat client_publickey)
  AllowedIPs = 10.0.0.2/32 " > wg0.conf
启动WireGuard
wg-quick up wg0
开机自启
systemctl enable wg-quick@wg0
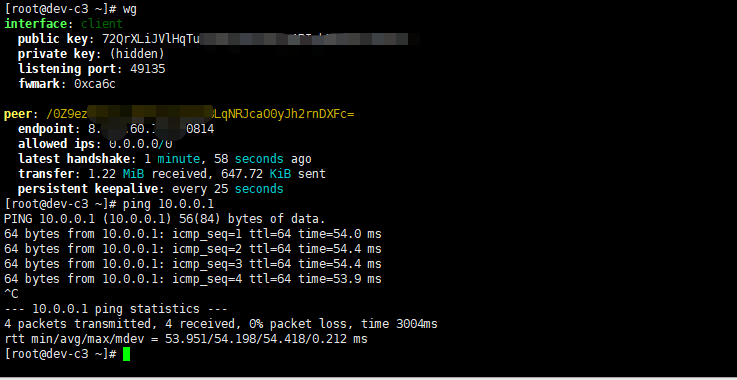
查看状态
wg show客户端配置文件
# 开启ipv4流量转发
echo "net.ipv4.ip_forward = 1" >> /etc/sysctl.conf
sysctl -p

# 创建并进入WireGuard文件夹
mkdir -p /etc/wireguard && chmod 0777 /etc/wireguard
cd /etc/wireguard
umask 077生成客户端配置文件/etc/wireguard/client.conf:
- Endpoint是自己服务器ip和服务端配置文件中设置的端口号,自己在本地编辑好再粘贴到SSH里
- 以下内容一次性粘贴执行,不要分行执行
echo "
[Interface]
  PrivateKey = $(cat client_privatekey)
  Address = 10.0.0.2/24
  DNS = 8.8.8.8
  MTU = 1420

[Peer]
  PublicKey = $(cat server_publickey)
  Endpoint = 1.2.3.4:50814
  AllowedIPs = 0.0.0.0/0, ::0/0
  PersistentKeepalive = 25 " > client.conf
至此,基本上就已经搞定了,可以启动 WireGuard 了:
# 启动WireGuard client
wg-quick up client

# 停止WireGuard
wg-quick down client

# 查看状态
wg show